HOW TO COMPLETE THE STUDENT DATA CONFIRMATION PROCESS
Dear Parents,
Please follow the steps below to complete the data confirmation and authorization process required by the Montecito School District before August 10th. The District requires a Student Data Confirmation review every fall. The annual Student Data Confirmation process must be completed for each of your students. Accurate data helps to ensure your student's safety in the event of an emergency.
Step 1: Parent Portal Web Address
Go to https://montecitousd.asp.aeries.net/student/
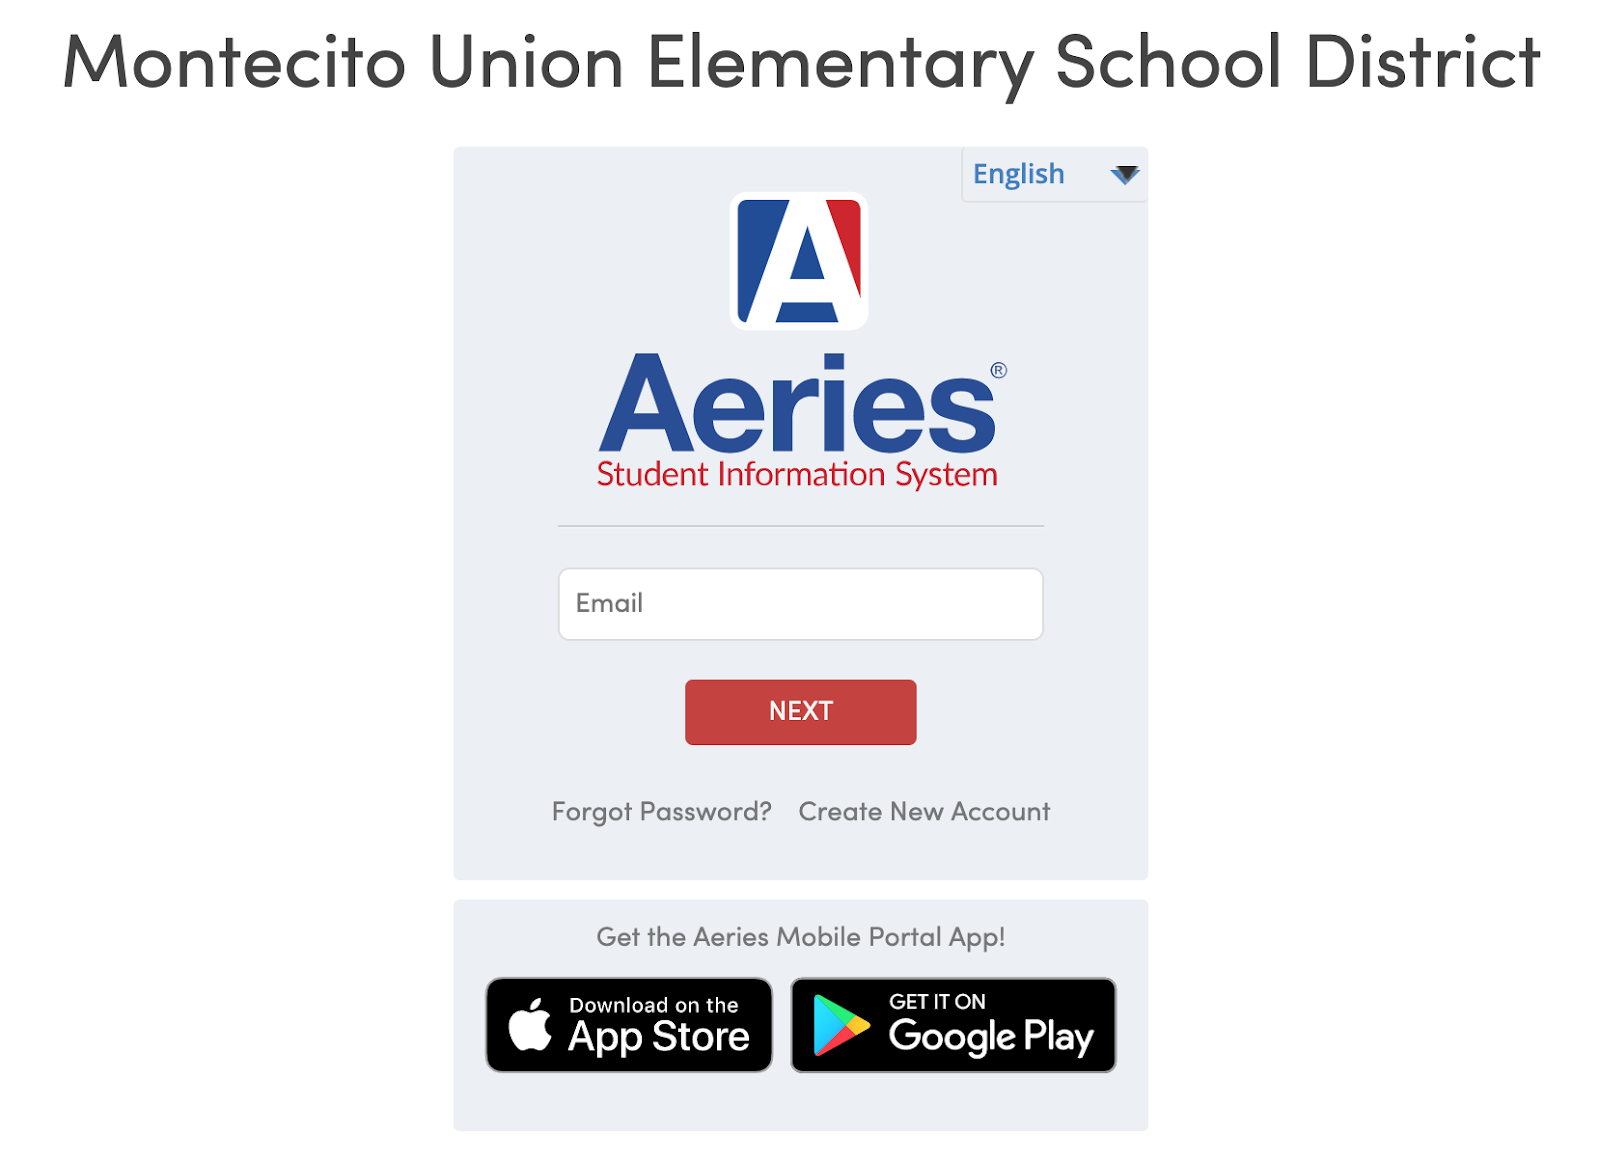
Step 2: Log In \ Create New Account (first time users)
Use your email and password combo you created when you first signed up. If you do not know you password, go ahead and click “Forgot Password”. If you cannot remember which email you used, please contact the front office. If this is your first time using Data Confirmation, click “Create New Account”
When creating a new account, you will be asked to enter a valid email address twice, and set a password twice. A verification email will be sent to this email address and will be addressed from aeriesreports@aeries.net If you do not receive a verification email, please check your SPAM or Junk mail folder. The verification email will contain a link that validates your email address into the Parent Portal. Once verified, login to the portal with your new account and continue with Step 3.
|
When creating a new account, select Parent. Only parent accounts can view student data and/or complete the data confirmation process.

Please do not allow your student to create a Student account. The portal will not contain any useful information for them and it creates a problem for other systems at this time.
|
Step 3: Student Data Confirmation
Once verification is completed, you will be on the Home screen.
|
If you have multiple children in the District, you will need to do this process for each of your children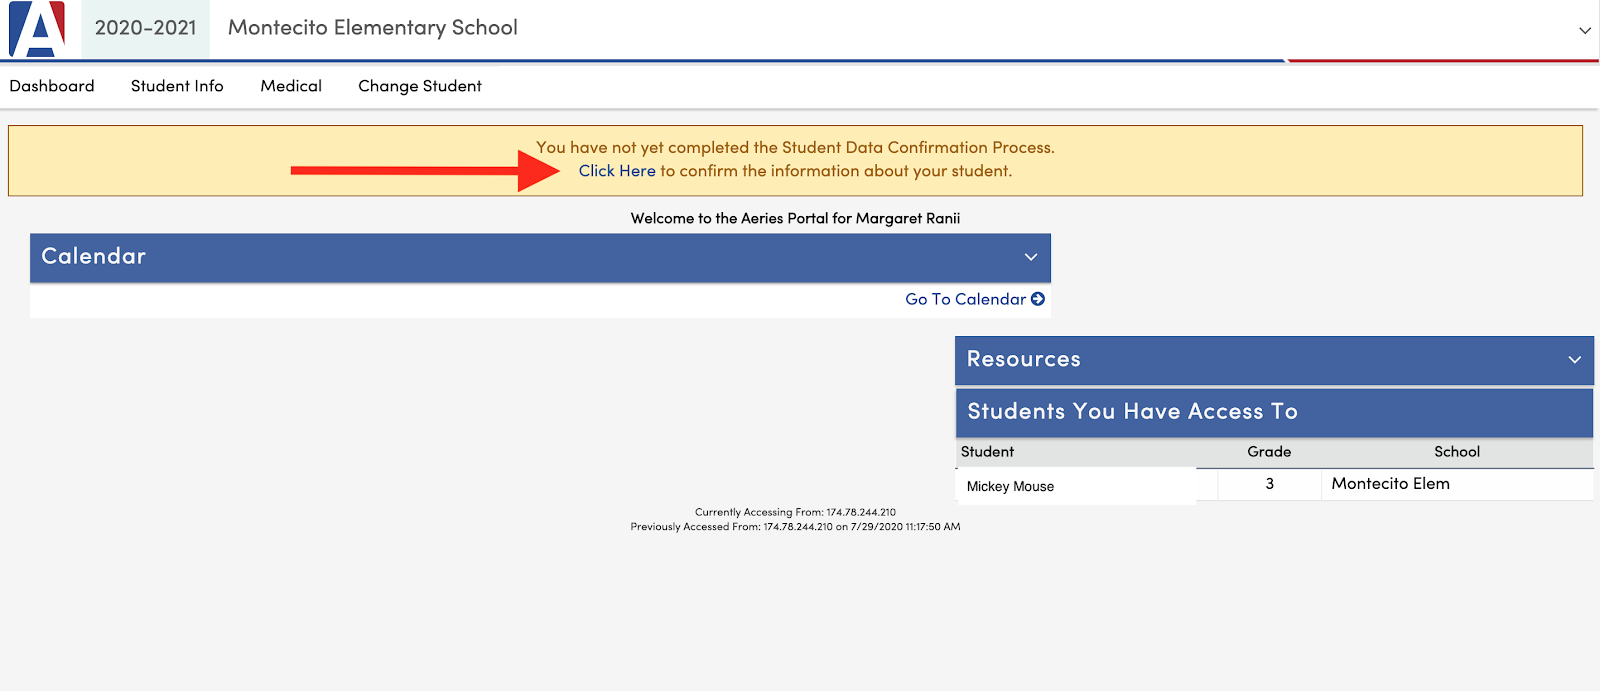
|
Please go under Student Info and select Data Confirmation. This is the only place you can enter or change data for your student.

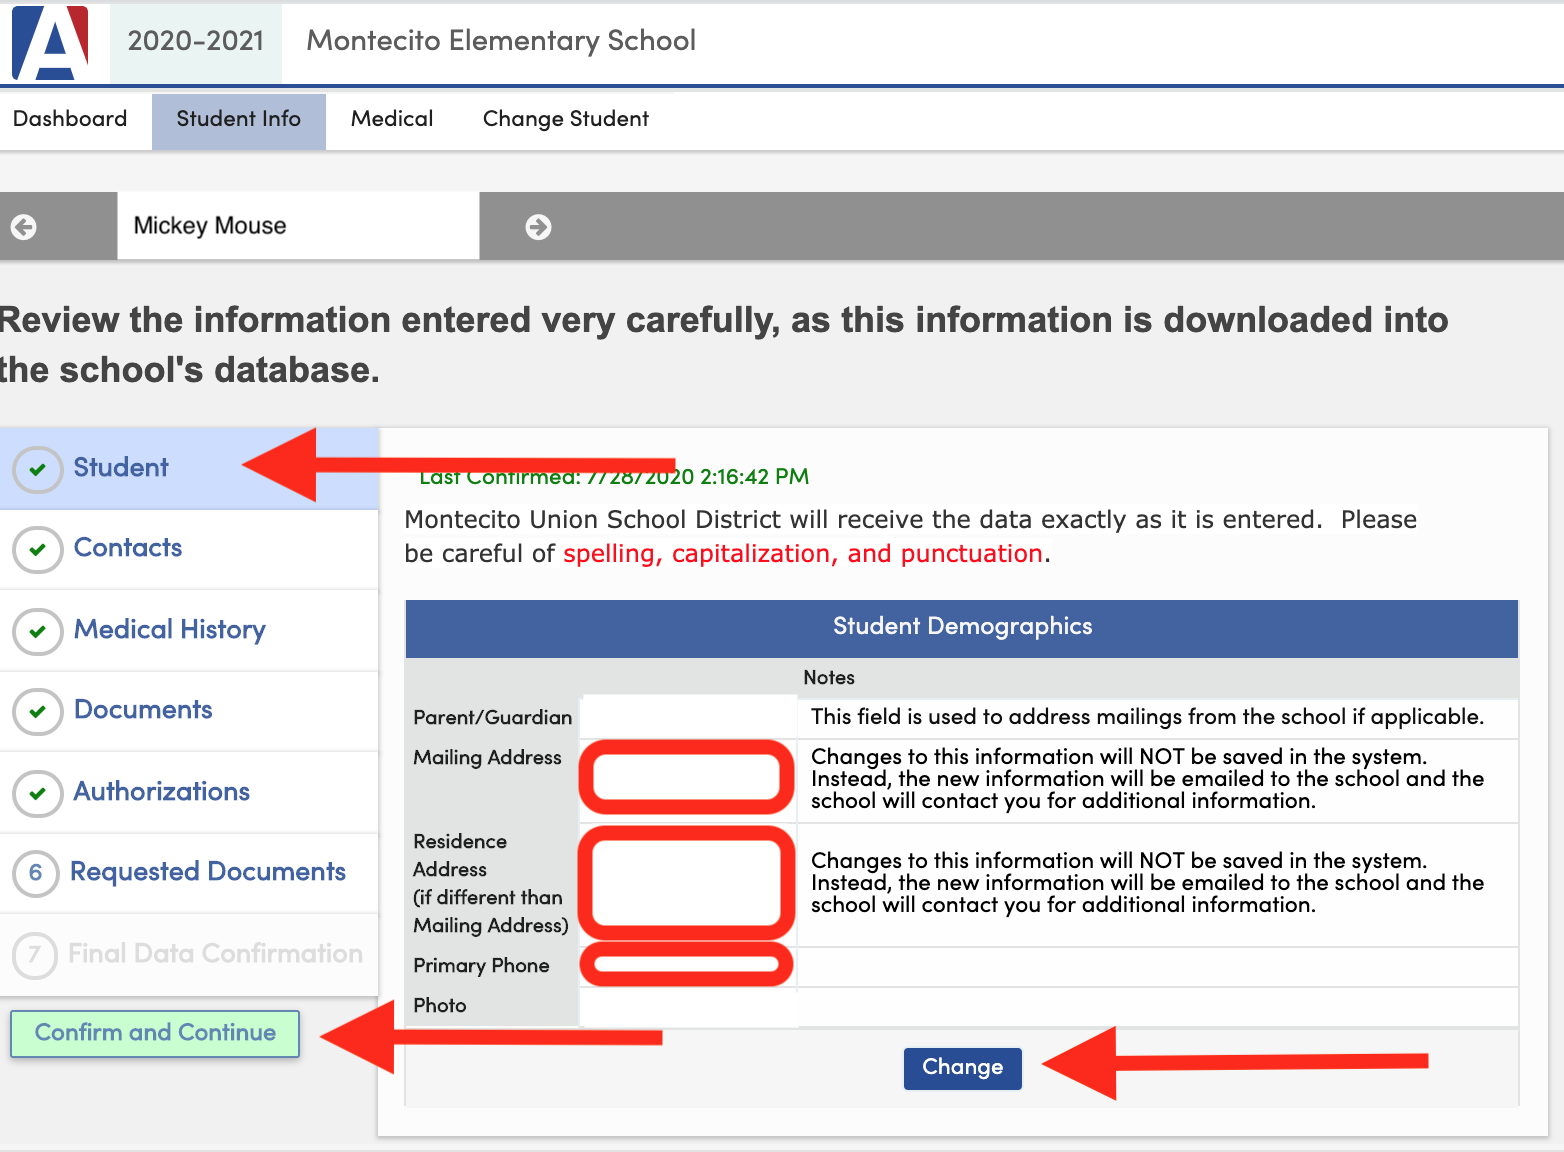
Step 4: Student Information
The Data Confirmation screen will look as follows and must take place in sequence, beginning with the Student Information tab.
Verify phone numbers and address provided and correct as necessary.
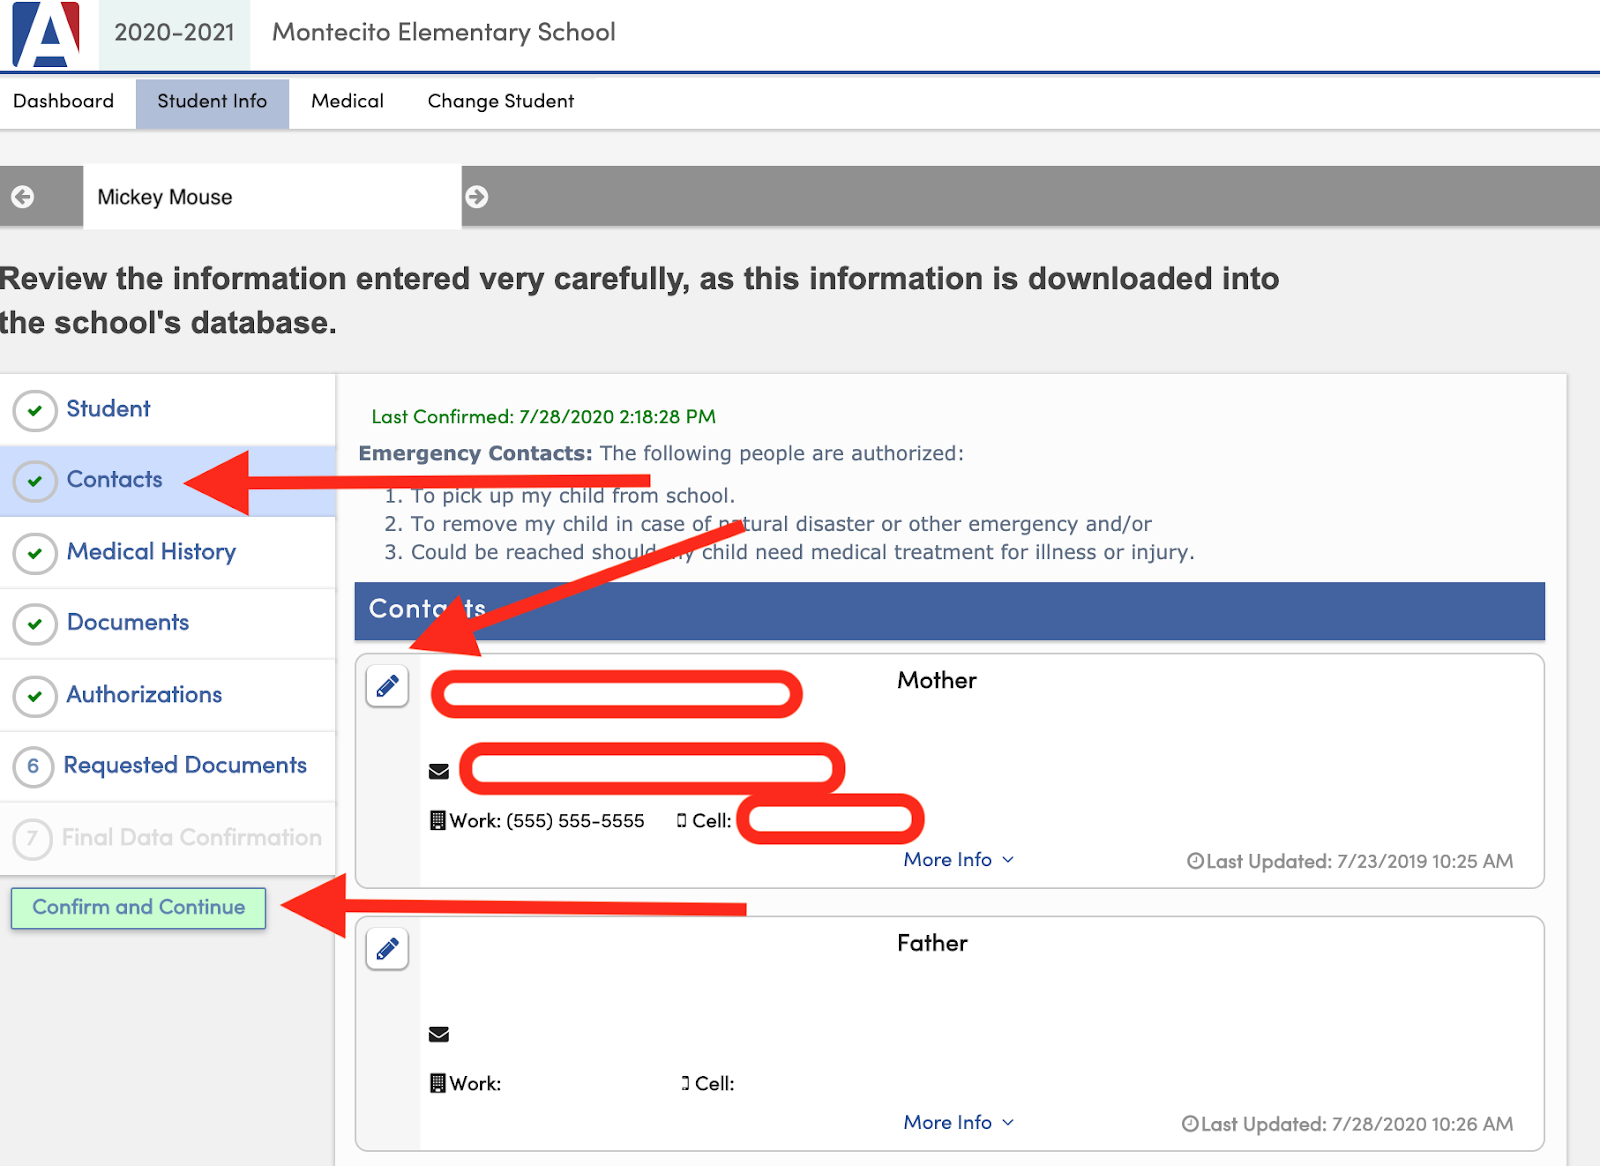
Step 5: Contacts and Emergency Contacts
Click on the Contacts tab on the left. Verify the parent information and correct as necessary.
The email address for the contact you are logged in as, will show as locked. To change your Parent Portal email account or the password, click on Options in the upper right corner.
|
IMPORTANT – this is also where you add Emergency Contacts for your student. Click ADD. Complete the information for the new contact and select Emergency contact from the pull down.
Parents/Guardians listed as contacts are considered Emergency Contacts. Please add at least two additional emergency contacts for each of your student(s) – these should be people who you permit to pick up your student from school or who the school office can contact when a parent/guardian cannot be reached.
|
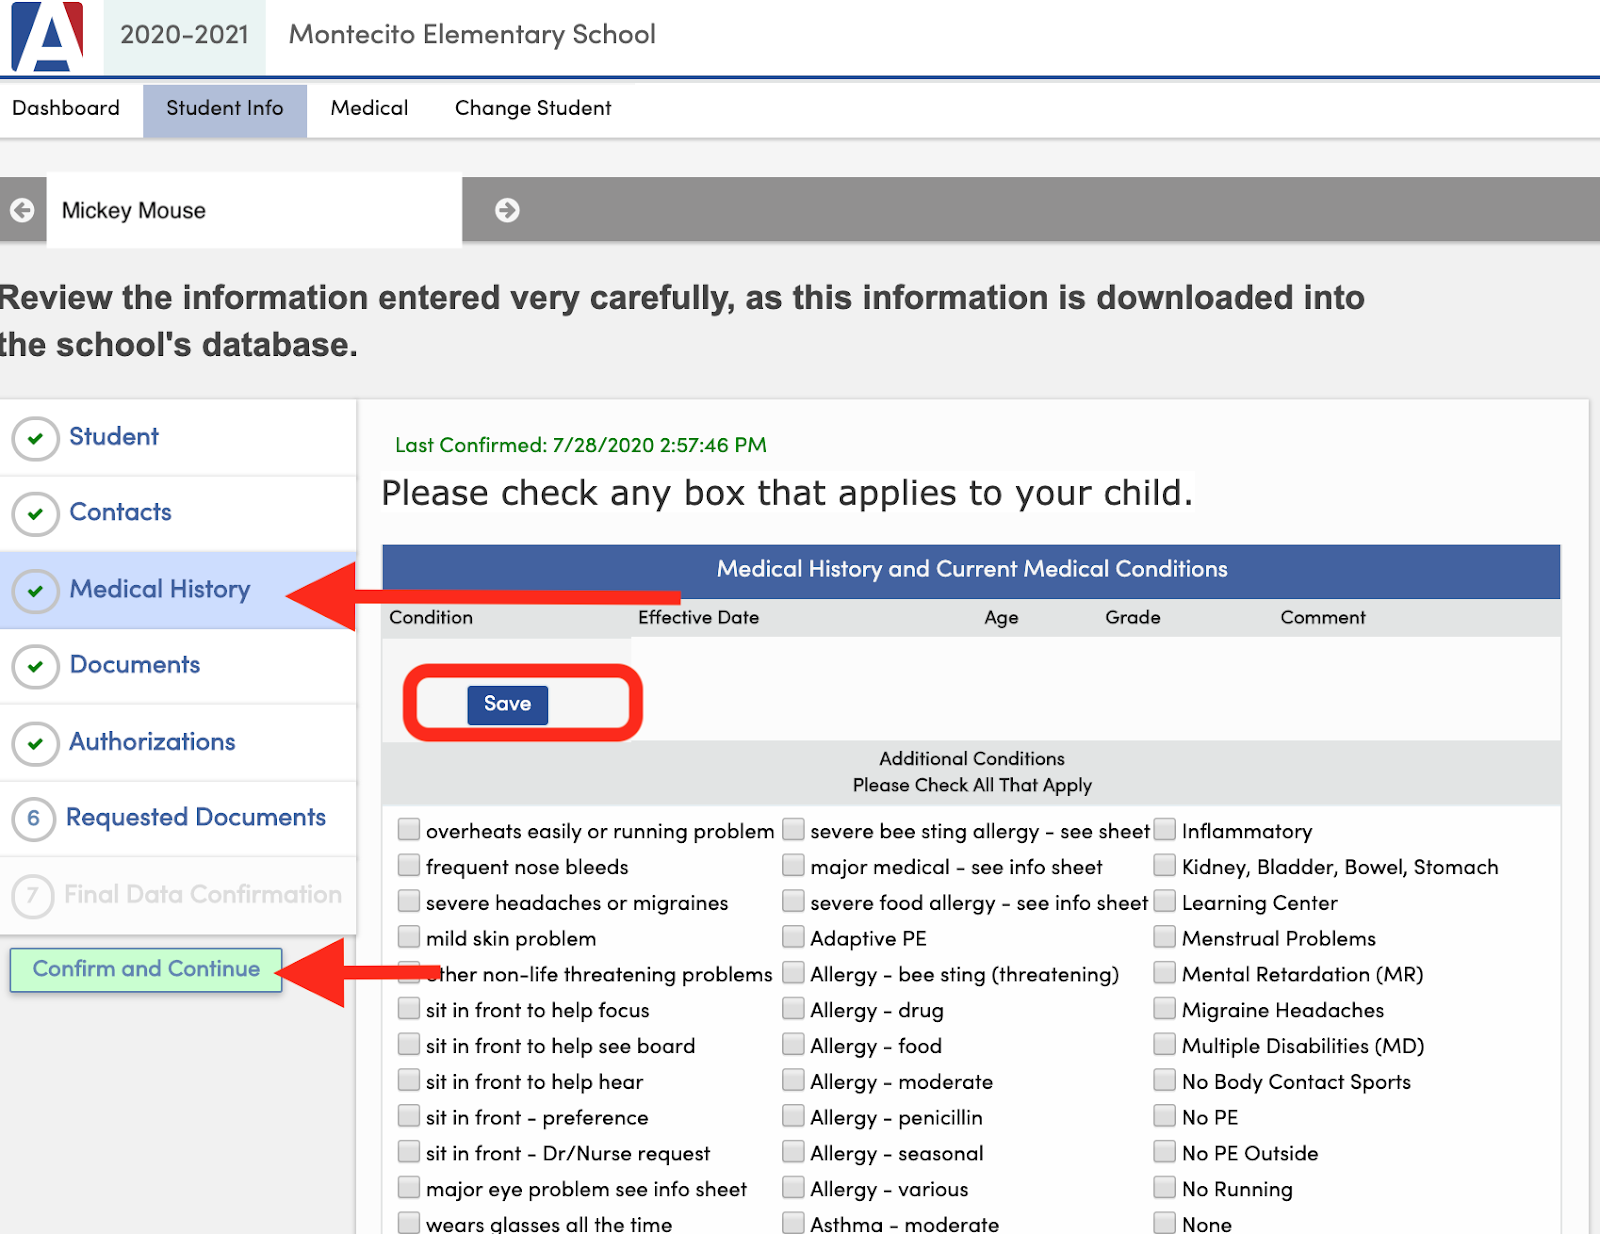
Step 6: Medical History
Click the Medical History tab on the left. Verify the medical information and correct as necessary. The effective dates are not necessary and may be left blank.
Even if no medical information is applicable, or no changes are needed, please click Save before continuing to the next step.
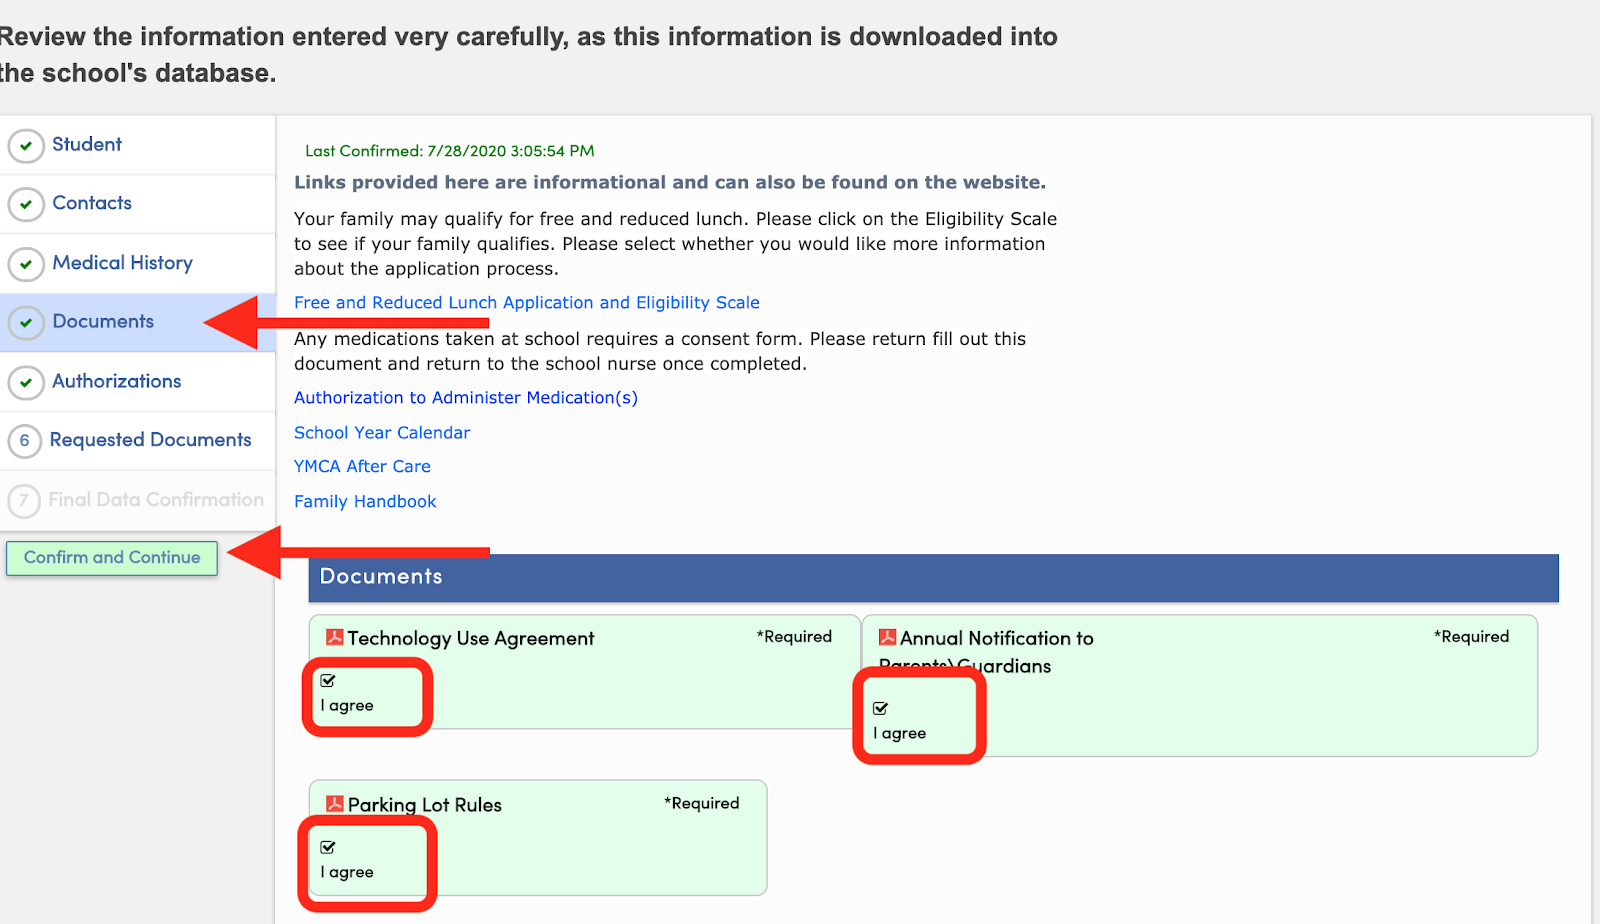
Step 7: Documents
Click the Documents tab on the left. Please download and review each document, then Click to Confirm that you have read and understood the document. You will need to confirm each document to continue. If you have questions regarding the documents, contact the school office.
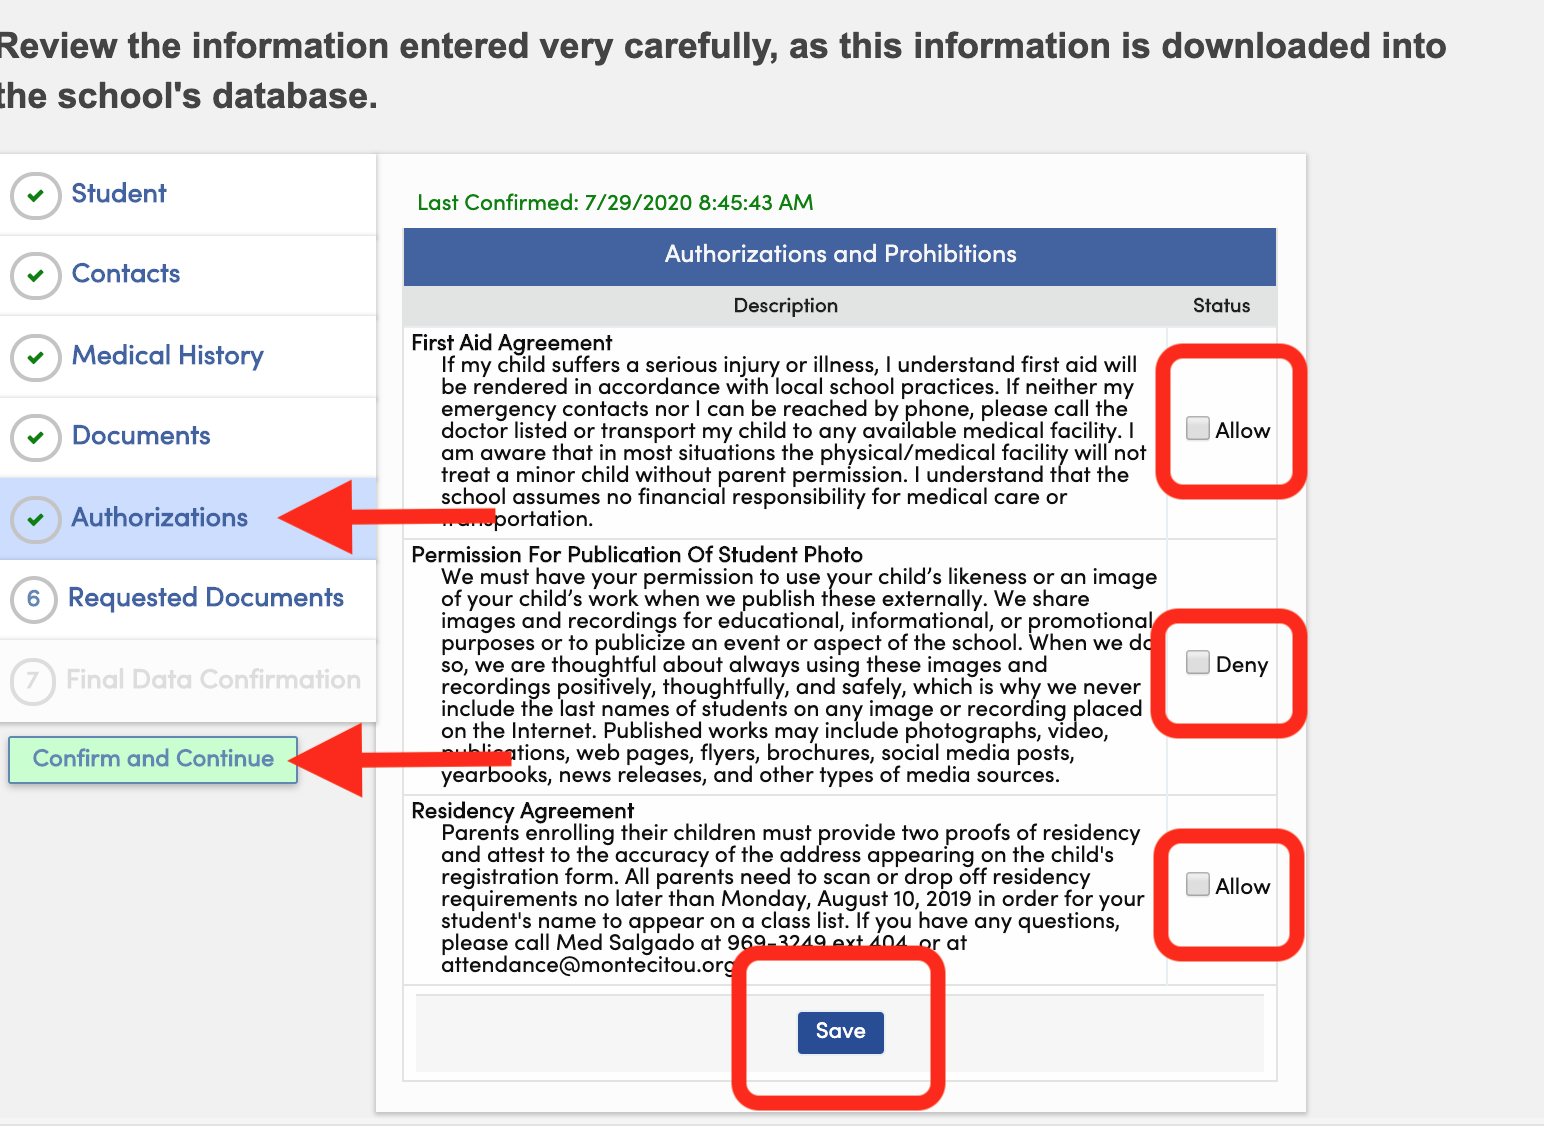
Step 8: Authorizations
Click the Authorizations tab on the left. Read and respond to each authorization. If you have questions regarding the authorizations, contact your student's school office.
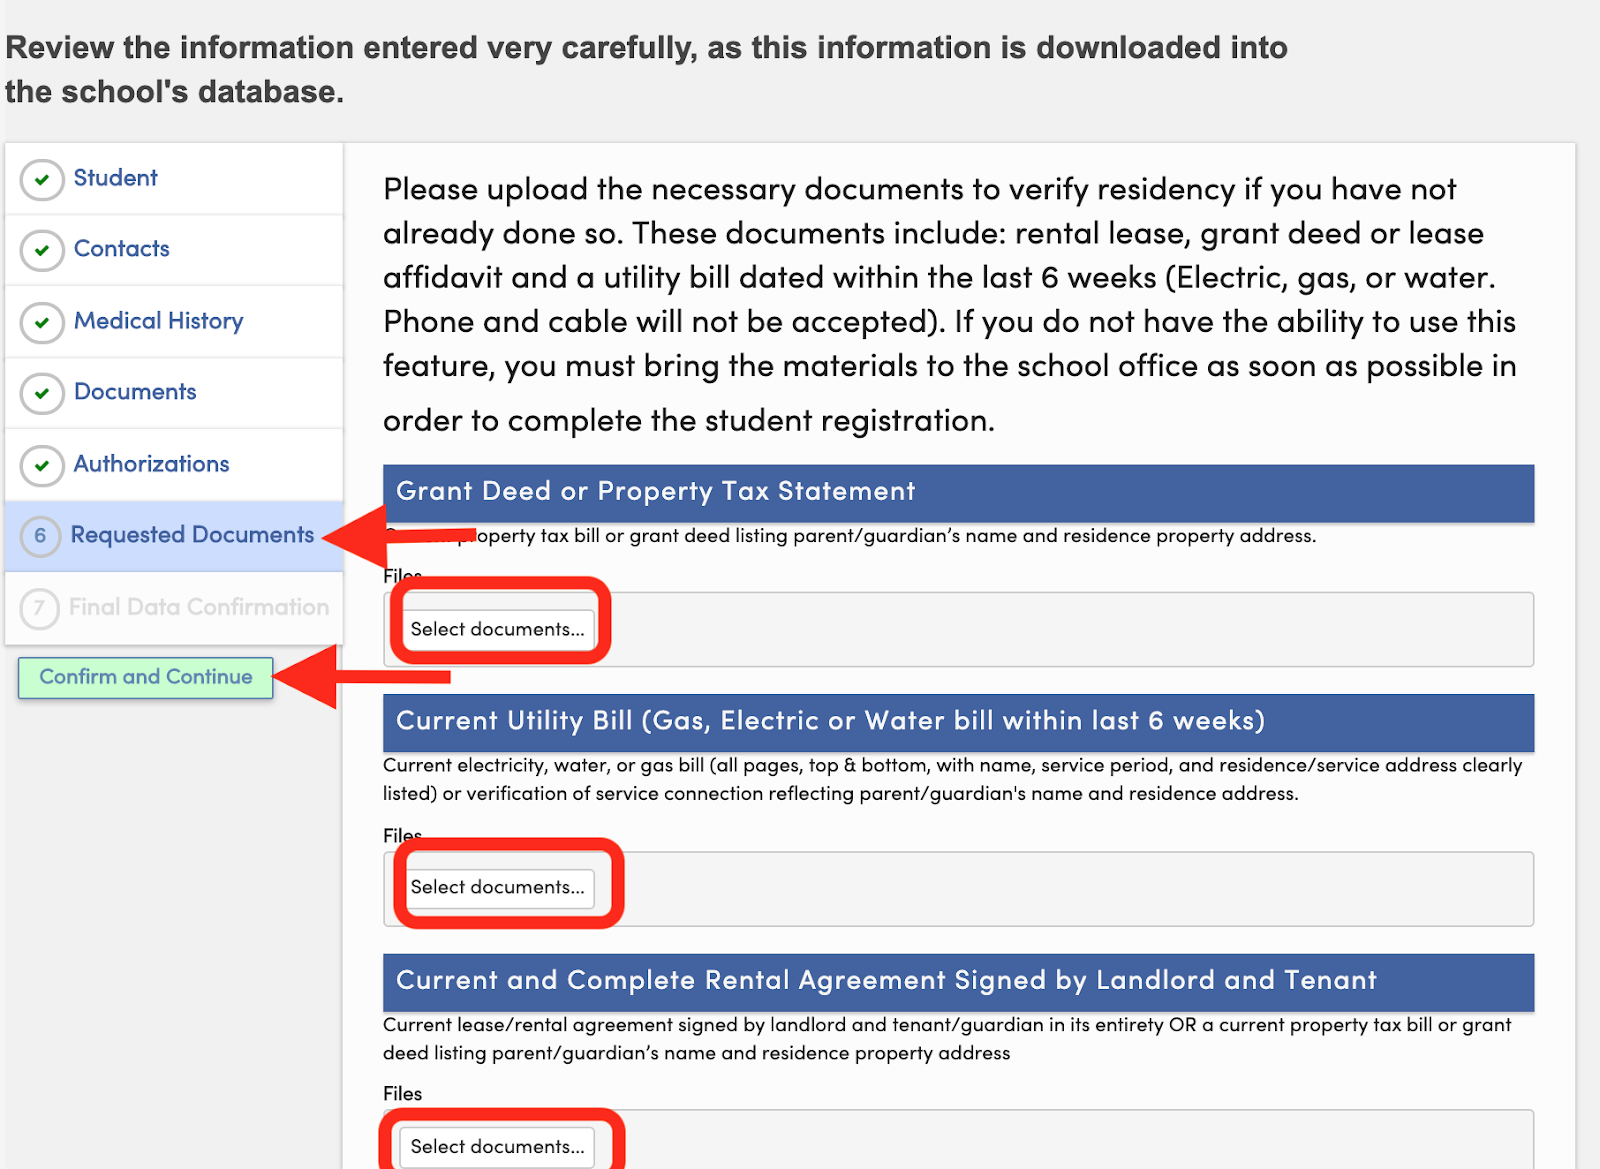
Step 9: Upload Requested Documents
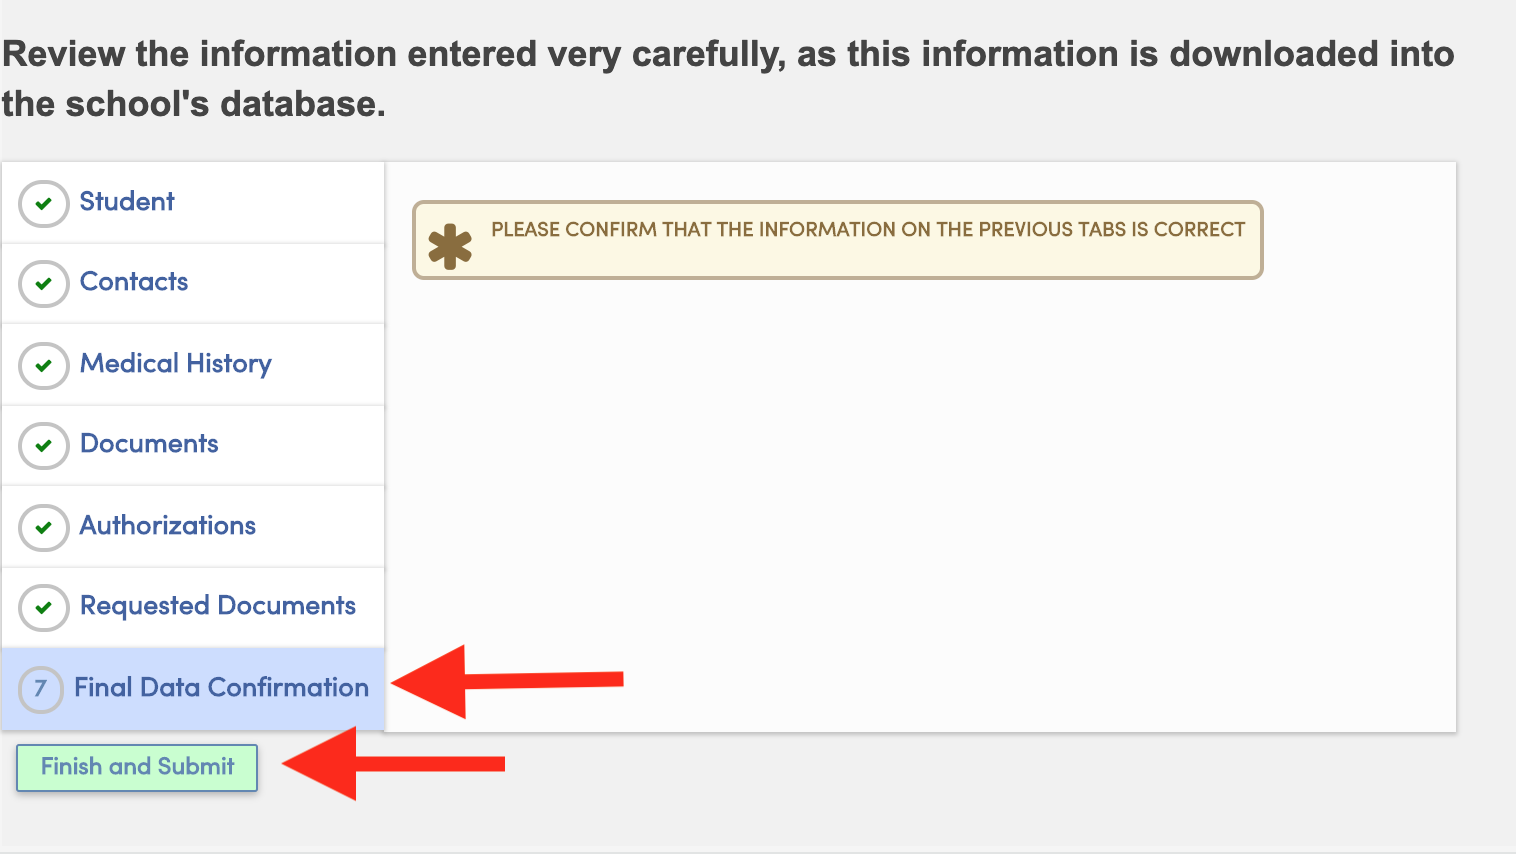
Step 10: Final Data Confirmation
Click the Final Data Confirmation tab on the left. If changes are required that cannot be made by you within the Parent Portal, contact the school office to make those changes.
Thank you for updating the data in the system and for completing the confirmation process.
If you have more than one student in our district, select your other student(s) from the Change Student menu and return to Step 3 to confirm the data for each student.

 Additional settings for Safari Browser.


